To ensure the best possible transfer, the tape has to be in a smooth, playable condition. There is a risk that damaged spools can deform tape edges and affect the smooth transport of the tape. Damaged splices are a serious problem that is frequently encountered when working with analogue tapes. For example, any gap between the tape ends exposes the adhesive, which will make the tape stick to on the adjacent layer. In addition, the tape heads could be contaminated. If tape ends are overlapped or the splicing tape is too long, the tape may “thump” when being played.
HOW:
Physical carrier restoration: Replace contaminated and/or broken spools. Repair bad splices. Add leader tape, if necessary. It is a good idea to replace old paper or plastic tape leaders with new, preferably acid free paper leaders. Old adhesive must be removed using a solvent that does not damage the binder. Note that repairing splices and replacing leader tapes requires training by an experienced person, because you may destroy something you cannot get back.
Chemical restoration: "Sticky" tapes suffering from pigment binder degradation can in most cases be brought into temporarily playable condition by special treatment like “baking”, curing, heated respooling. Such treatment should be undertaken very carefully and only if absolutely necessary. In case of doubt: consult an expert!
SEE:
Scotch: Making tight, noise-free splices
Sound Talk: Splicing tapes and their proper application
How to edit audio tape
Analog Tape Recorders
Capturing Analog Sound for Digital Preservation: Report of a Roundtable Discussion of Best Practices for Transferring Analog Discs and Tape ,
p. 6—7
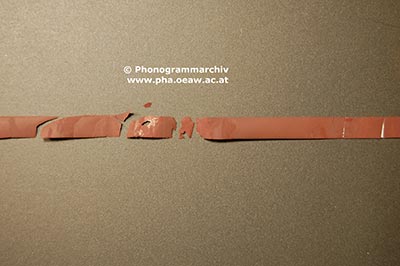
Tape before restoration
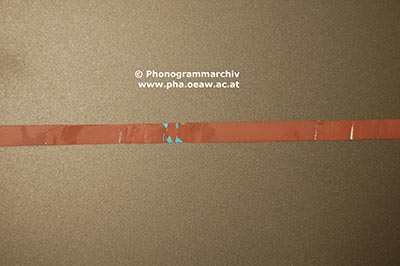
Tape after restoration
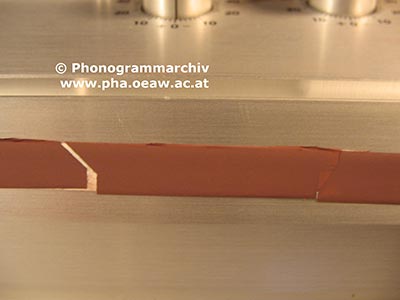
Bad splice
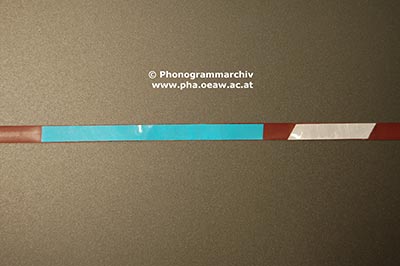
Tape after restoration (other side)

Correct splice

Wet glue